
Why Cheap Paint Jobs Fail Faster Than You Think
Skimping on prep work or low-quality materials can turn a money-saving paint project into a costly redo. Here is what goes wrong and why.
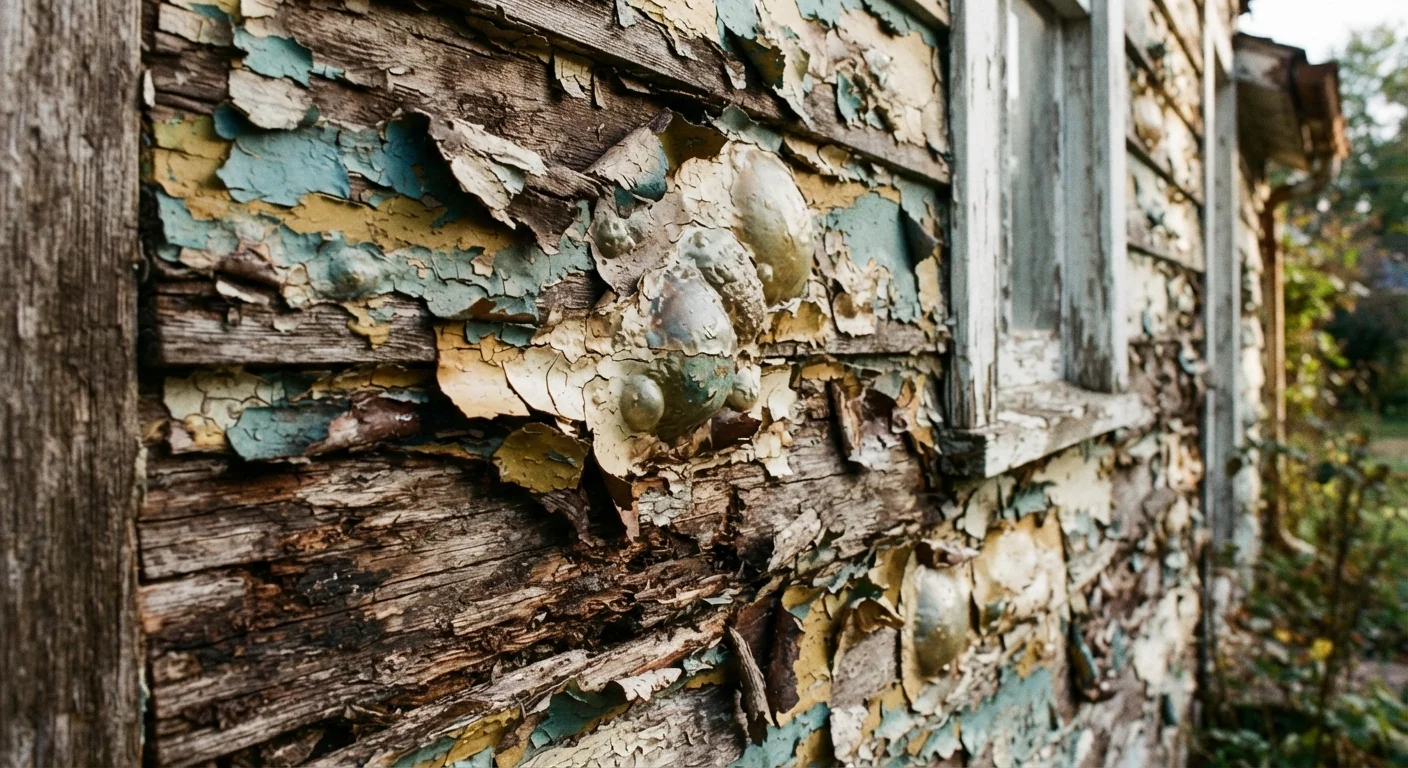
Photo: everythingtoday.com editorial
—— In This Article
Key Takeaways
- Skipping surface preparation is the single biggest reason paint fails prematurely.
- Low-quality paint typically requires more coats and repainting sooner, costing more overall.
- Wrong primer or no primer causes adhesion failure that no topcoat can fix.
- Painting in poor weather or over damp surfaces leads to bubbling and peeling within months.
- Thin coats applied correctly outperform thick coats rushed in one pass.
Why paint jobs fail before their time
A paint job that peels or bubbles within a year or two is not bad luck. It is almost always the result of one or more skipped steps during preparation or application. The frustrating part is that the failures are predictable and, in most cases, avoidable without spending a lot more money.
The goal here is not to scare anyone away from painting their own home. It is to show where the process typically breaks down so the work you put in actually lasts.
Skipping or rushing surface preparation before painting.
Why it happens: Prep work is time-consuming and invisible once painted over, so it feels like the easiest place to cut corners when budget or schedule is tight.
Using the cheapest available paint without checking coverage ratings.
Why it happens: The upfront price tag looks like a saving, but very inexpensive paints often have lower pigment and resin content, meaning fewer solids per gallon.
Omitting primer or using the wrong primer for the surface type.
Why it happens: Paint-and-primer-in-one products have made some homeowners believe a separate priming step is obsolete, which is true on some surfaces but not all.
Painting in unfavorable temperature or humidity conditions.
Why it happens: Homeowners often schedule painting around their own availability rather than the weather, and the consequences are not immediately visible.
Applying paint too thick in a single coat to save time.
Why it happens: The logic seems sound: one heavy coat should equal two thin ones. In practice, thick coats do not dry evenly and are prone to sagging, wrinkling, and cracking.
Using the wrong sheen or finish for the location.
Why it happens: Paint sheen is often treated as a style choice rather than a functional one, so many people default to whatever is on sale or familiar.
How to get a longer-lasting result without overspending
The biggest shift in thinking is to separate the cost of materials from the cost of the total job, including any redo work down the road. A can of paint that saves you ten dollars upfront but requires repainting two years earlier than a mid-grade option did not save you anything.
Paint failure can hide moisture damage
Bubbling or peeling paint on exterior walls is sometimes a sign of underlying moisture intrusion, not just a cosmetic problem. Before repainting, inspect the substrate for rot, mold, or structural issues. If you find any, address those first and consult a qualified contractor before covering the surface again.
Time spent on prep is time that pays off directly in how long the finish lasts. Cleaning, sanding, priming, and patching are not optional steps for perfectionists. They are what makes paint adhere properly in the first place.
If you are working on an older home, be cautious about assumptions that cutting steps saves money. Many common shortcuts in home maintenance end up costing more than the original, done-right approach would have.
Lead paint in older homes
Homes built before 1978 may have lead-based paint on surfaces. Sanding or scraping lead paint without proper precautions creates hazardous dust. The EPA's Renovation, Repair, and Painting rule requires certified contractors for certain work in pre-1978 homes. Check with your local authority and consult a certified professional before disturbing old paint in these structures.
Checking the weather forecast before you start and reading the manufacturer's label for temperature and humidity ranges takes five minutes. Skipping it can mean repainting the same wall in the same season. Following the application instructions, including coat thickness and dry time between coats, is the simplest thing you can do to protect your investment.
7-10 years
Expected lifespan of a quality exterior paint job
Industry guidance from painting trade organizations suggests a properly applied exterior coat on a well-prepared surface can last seven to ten years under typical conditions.
2-3 years
Lifespan of a paint job on unprepped surfaces
Paint applied over inadequately prepared substrates frequently begins to peel or flake within two to three years, requiring full stripping and repainting.

Home & Garden Editorial Team
Home & Garden Editorial Team is the collective byline for our editorial team and contributor network. Articles published under this byline or an editorial pen name are researched, written, and reviewed according to our editorial standards for clarity, consistency, and independence before publication.
View author profile