
Weatherstripping Your Doors and Windows Before Winter
Learn how to measure, choose, and install weatherstripping on drafty doors and windows to reduce heating bills and improve comfort.
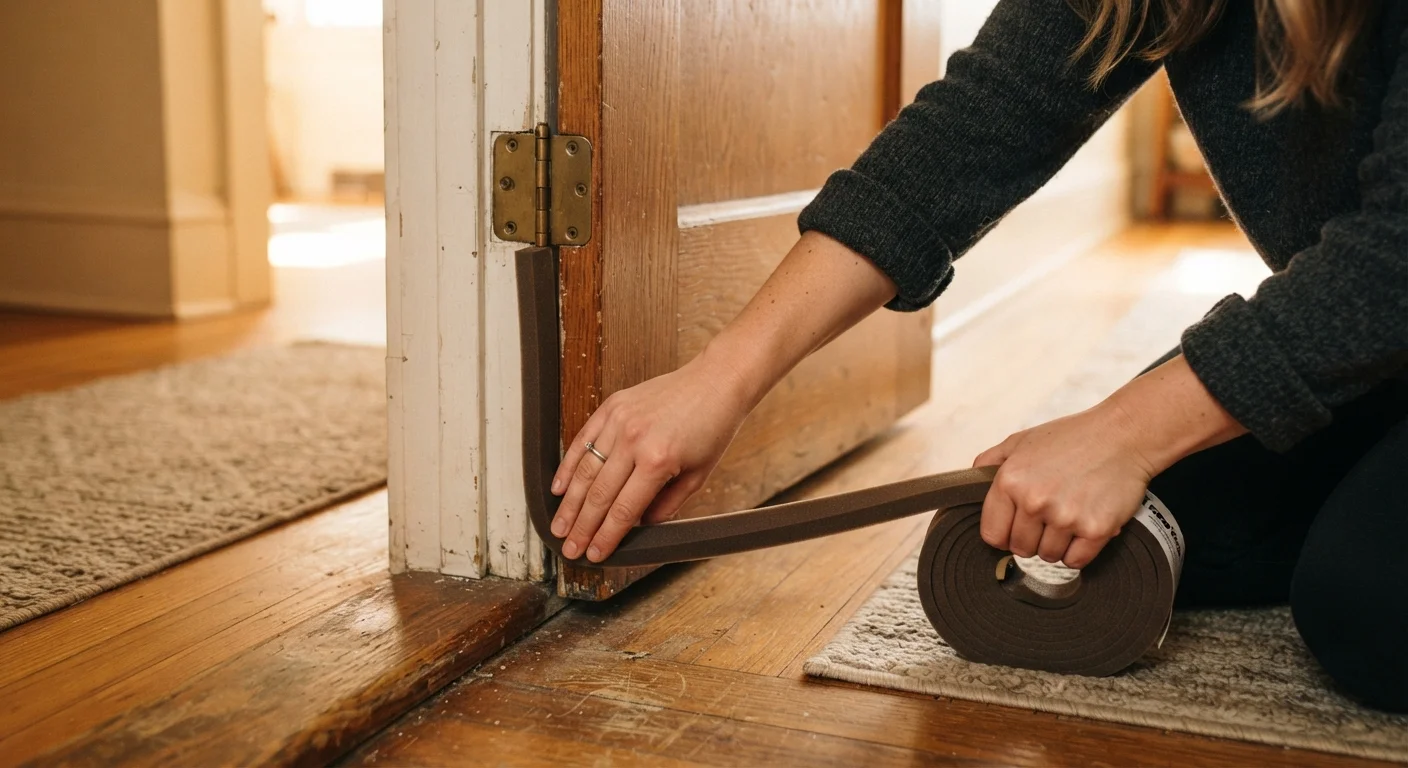
Photo: everythingtoday.com editorial
—— In This Article
Key Takeaways
- Drafty doors and windows are among the most common sources of heat loss in older homes.
- Most weatherstripping projects require only basic tools and cost under $30 per door or window.
- Choosing the right material for each location determines how long the fix will last.
- Surface prep before installation is the step most homeowners skip, causing early failure.
- Door sweeps handle the gap at the floor that foam tape alone cannot close.
Why weatherstripping matters before winter
Air leaks around doors and windows can account for a significant share of a home's heating load. That cold air doesn't just come through obvious gaps. It seeps through worn compression seals, cracked caulk lines, and the thin space under an exterior door. Over a full winter, that adds up to real money on your utility bill.
The good news is that weatherstripping is one of the few home improvements where you can buy the materials in the morning, do the work yourself that afternoon, and feel the result before dinner. No permits are needed, no specialized skills are required, and the tools are things most households already have.
Check windows you rarely open too
Casement and double-hung windows that stay closed all winter still leak if their seals are worn. Include them in your draft inspection even if you never plan to open them until spring. A quick re-seal costs almost nothing and prevents steady heat loss all season.
What you need before you start
Before cutting any material, walk through your home and identify which doors and windows actually have drafts. On a cold or windy day, hold a candle or thin strip of tissue paper near the perimeter of each door and window. Movement in the flame or paper points to a leak.
What you will need
Once you know which openings need attention, measure the full perimeter of each one. Write those measurements down. Buying slightly more material than you measured is wise because cuts sometimes need to be redone.
Tape measure
Measures door and window perimeters so you buy the right amount of weatherstripping.
Utility knife or scissors
Cuts weatherstripping material cleanly to the correct length.
Rubbing alcohol and clean rags
Cleans and degreases surfaces so adhesive-backed strips bond properly.
Hammer and small finish nails
Secures V-strip or door sweep if adhesive alone is not sufficient.
Putty knife or old butter knife
Removes old, crumbling weatherstripping from the channel before installing new material.
How to weatherstrip a door or window
Follow these steps for each door or window you identified. Work on one opening at a time so the process stays organized.
Remove the old weatherstripping
Peel or scrape out any existing weatherstripping from the door or window channel. Use a putty knife to get under stubborn adhesive residue. If the old material tears and leaves adhesive behind, soften it with rubbing alcohol and scrape gently until the channel is bare and clean.
Clean and dry the surface
Wipe the entire channel or frame surface with a cloth dampened with rubbing alcohol. Let it dry fully, at least 10 to 15 minutes. Any oil, dust, or moisture left on the surface will prevent adhesive-backed weatherstripping from bonding well.
Cut weatherstripping to length
Measure each side of the opening individually rather than assuming all four sides are the same. Cut the weatherstripping to match each measurement. For corners, cut ends at a 45-degree angle so the strips meet cleanly without gaps or overlapping bulk.
Install the weatherstripping
For adhesive-backed foam or V-strip: peel the backing and press the strip firmly into the channel, working from one end to the other without stretching the material. Press along the full length for 30 to 60 seconds to activate the adhesive. For nail-on door sweeps: align the sweep so the flexible flap just brushes the threshold when the door is closed, then secure it with the provided screws or small finish nails.
Test the seal
Close the door or window and repeat the candle or tissue-paper test from your initial inspection. The flame or paper should stay still. Open and close the door several times to confirm it moves smoothly. If you feel significant resistance, check whether any strip is bunched or too thick for that section of the frame.
Common problems and how to handle them
If your door sticks after installation, the weatherstripping is likely too thick for the gap. Remove it and swap for a thinner profile. The door should close with light resistance, not require a hard push.
If the seal peels away within a few weeks, the surface was not clean or dry enough when you applied it. Pull off the old strip, clean the channel again with rubbing alcohol, let it dry completely, and press new material in place.
Windows in older homes sometimes have uneven channels where no single strip profile seals the full length. In those cases, use a flexible V-strip (also called tension seal) that can conform to slight irregularities. It costs a little more than foam tape but holds its shape through repeated opening and closing cycles.
Avoid blocking egress windows
Bedroom windows that serve as emergency exits must open fully and quickly. Do not use weatherstripping methods that permanently seal or restrict a window's ability to open. Stick to removable or compression-style strips on egress windows so the opening is never compromised.

Home & Garden Editorial Team
Home & Garden Editorial Team is the collective byline for our editorial team and contributor network. Articles published under this byline or an editorial pen name are researched, written, and reviewed according to our editorial standards for clarity, consistency, and independence before publication.
View author profile